Managing leave requests
Configure leave types, approve or reject requests, submit on behalf of an employee, and keep balances accurate — the HR side of TracefyHR's unified leave page.
TracefyHR's leave system has three layers:
- Leave types — defined once by a Manager (Annual, Sick, etc.).
- Balances — each employee gets a yearly quota per type.
- Requests — employees apply, an approver reviews.
HR runs the day-to-day: tweaking balances, approving requests if assigned as a leave approver, and submitting requests on behalf of employees who can't.
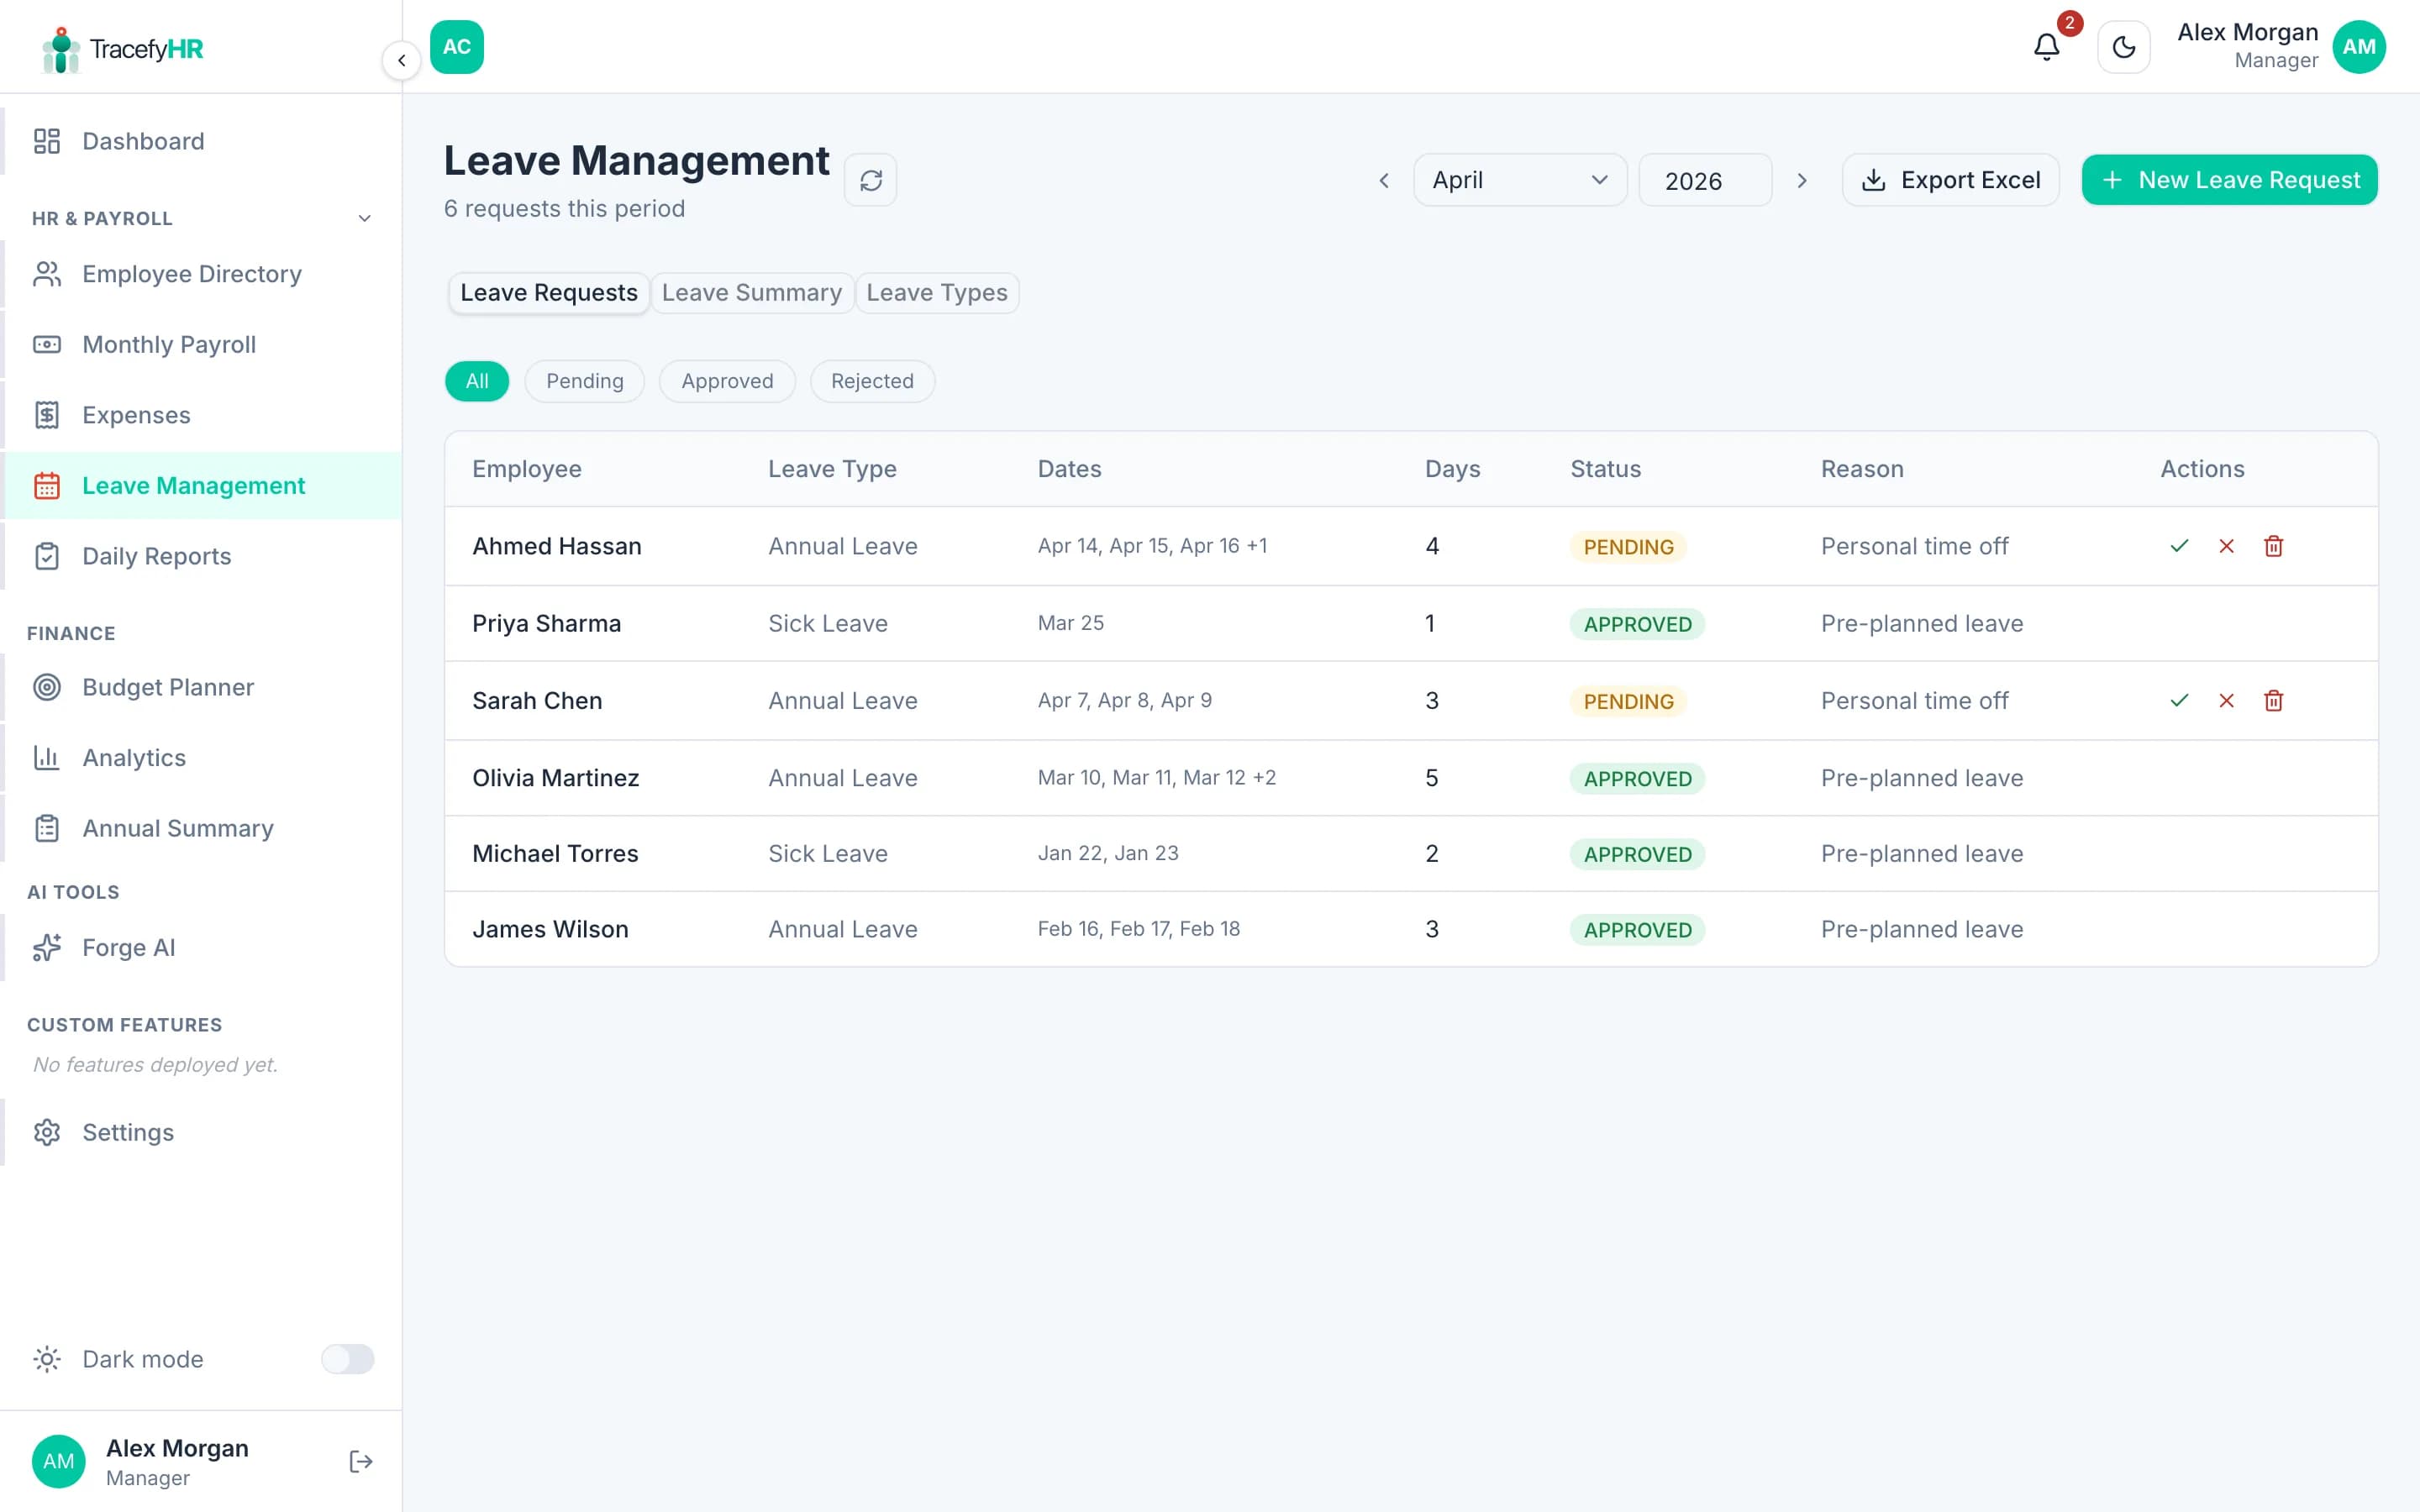
A pending request looks like this when opened:

Approve or reject a request
Open Time → Leave and click the Requests tab. Pending requests show at the top with a yellow badge.
Click a request to see the full detail: dates, leave type, employee's reason, and any comments.
Click Approve or Reject. If you reject, you must enter a reason — it's emailed to the employee.
That's it. TracefyHR sends the email + in-app notification, updates the employee's balance (if approved), and logs the action in the audit trail.
Bulk-approve by selecting multiple pending requests and clicking Approve selected. Same for rejecting — but each rejection still requires a reason (TracefyHR uses the one you type for all of them).
Submit a request on behalf of someone
Sometimes an employee can't apply themselves — maybe they're already off sick. Submit for them:
Open the Requests tab and click Submit on behalf.
Pick the employee from the dropdown. Their leave types and balances appear.
Pick the leave type, dates, and a short reason. Same calendar rules as employees see (past dates / over-balance dates greyed out).
Choose how to handle approval: auto-approve (HR overriding the workflow) or send through the normal approver chain.
Click Submit. The employee gets a confirmation email so they know it's logged.
Adjust an employee's balance
Need to give someone an extra 5 days for a special reason — or recover days from a balance error?
Open the Summary tab. You'll see every employee's allowed / used / remaining for every leave type.
Click an employee row to open the adjustment dialog.
Pick a leave type, enter a positive or negative number of days, and add a note (this is mandatory — it's the audit trail).
Click Save. Their balance updates immediately, and the employee gets an email if you tick the Notify employee box.
Set up a new leave type
Leave types live on a Leave Types tab on the same page (Manager-only). Add a name, the annual quota, and the prior-notice requirement:

Common questions
Where do I see who's off this week? The Summary tab has a calendar view at the top showing every approved leave for the next 30 days, colour-coded by type.
The employee's balance shows wrong — they had 12 days but it shows 8. Approved requests deduct automatically. Use the Adjust balance flow above with a note like "Manual top-up after migration" to fix it cleanly. Don't edit the request itself.
Can I delete a leave request? Reject it instead. TracefyHR keeps everything for the audit trail — leave records aren't deleted, only rejected or cancelled.
An employee says they didn't get the approval email. Check Settings → Email Logs to see if it was sent and delivered. If it bounced, fix their email and use the Resend button.
Related
- Requesting time off (Employee view) — what your employees see
- Company settings — set up leave types
- Managing permissions — assign Leave Approver role
Last updated 2026-05-05